SHOE ADD

For this assignment, I took many photo's of my friends shoes. Once I finally looked over them all, this one stood out. I knew I could use the plain black and white, but with a pop of colour. To selected only the shoe in my add, I quick selected the background of the shoe, and deleted it. I opened up a new layer and dropped the shoe into it. I used basic editing for the shoe alone, and used the spot healing brush to cover up a cut there was in the shoe. I decided I wanted to have my back ground as a gradient, so I eye dropped the colour from the sock to get a pleasing look. Afterwards I imported the "Vans" logo and edited out the words to make it transparent. This way I would have the gradient background coming through the logo. Finally, I added some text and used the custom shape tool and added the checkered look to the corners.
Walkerville Tourism Ad

For my Walkerville add, I only took the background picture. I started with some basic editing, to make the fall colours stand out more. The circles I have were edited out by the elliptical marquee tool. Holding down option and shift while using this tool will give it a perfect circle effect. I then used shift-command- i to select the background, and then control-delete to delete background. Afterwards I added a stroke to all of them. Of course, I added some text to represent what my add was about. For the faded look, I just turned down the opacity.
Zack Edit
Before
After


To edit Zach, I started off with the spot healing brush to smooth out any bumps he seemed to have. Following up with taking the rectangular marquee tool and selecting it to move it over to the other side of his face. This way his face would look symmetrical. I used the eraser to clean up any rough edges left behind. I did the same for the nose and mouth.
Photo Manipulation


This photo manipulation was not my idea. I got my inspiration off of pinterest, and once I saw it, I knew I wanted to recreate it. Starting off this assignment, I uploaded the pictures to photoshop and set the background as the grass without my friend in it. I locked that image so it wouldn't move when editing on the one of my friend. I took my quick selection tool and started going in between the squares and selecting it. Afterwards I would just delete it and the background would show up in the background.
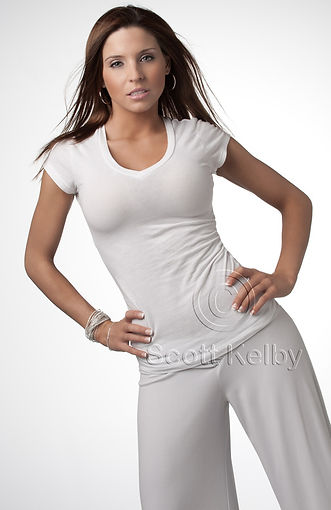
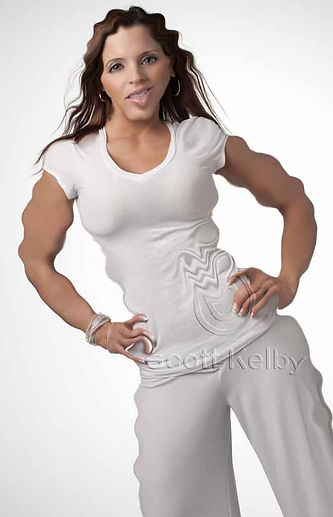
Liquify
For these pictures, all i used to edit was the liquify tool. I used the bloat tool to make parts of the images slightly bigger, pucker tool for making parts smaller, and the warp tool to spread the image.
Original
Normal edit
Goofy/crazy edit
Orginial

Edited

